Natasha, a four-star physical-type follower of the Abundance, is one of those rare characters in Honkai: Star Rail that truly embodies the phrase "old but gold." Even two years after her initial release, she remains a staple healer for countless Trailblazers, especially those who snagged her for free early in the campaign. Her kit revolves entirely around keeping the team alive, and it does so with a straightforward, no-nonsense approach—scale her healing off her max HP, pump up that stat, and you’re pretty much golden. The challenge, though, is squeezing every last drop of potential out of her build without over-investing in the wrong areas. This guide breaks down the best Relics, Planar Ornaments, Light Cones, and advanced usage tips that will make your Natasha an unkillable backbone for any Simulated Universe run or Memory of Chaos floor.
To get the most out of Natasha’s healing output, Relic selection is critical—and there’s a clear winner in most scenarios. The Passerby of Wandering Cloud set is the bread-and-butter choice. Its two-piece bonus cranks Outgoing Healing by 10%, and the four-piece effect hands you a free Skill Point at the start of every battle. In high-difficulty content where every skill point counts, that freebie can be a literal lifesaver. But let’s not sleep on the Messenger Traversing Hackerspace set either. If your team already has enough bulk to survive a few hits without constant big heals, the speed boosts from this set—6% for the wearer and a party-wide speed buff after using an Ultimate—allow Natasha to cycle turns faster and keep up with frantic fights. Both are excellent, and which one you choose usually depends on whether you need raw healing power or the flexibility that extra speed provides.
Planar Ornaments are just as important. The Fleet of the Ageless set is a match made in heaven for Natasha. Its two-piece bonus inflates her max HP by 12% (which directly boosts all her heals), and if you can squeeze her speed past 120—a very doable goal—all allies get an 8% attack increase. That attack buff might seem modest, but over a drawn-out battle it adds up to a serious chunk of extra damage. As for main stats on relics, you’ll want to prioritize a Body piece with Outgoing Healing (HP% is a close second), Feet with Speed, a Planar Sphere with HP%, and a Link Rope with Energy Regeneration Rate (HP% works if you can’t get ERR). Substat priorities should balance HP%, flat HP, and Speed, with a dash of Defense and Effect RES so Natasha doesn’t get one-shot by a stray AoE. The idea is to make her tanky enough to survive, fast enough to act often, and with a fat enough HP pool to keep everyone topped off.
Light Cones are where things get spicy. The golden standard is Time Waits for No One, a five-star cone that boosts max HP by 19% and Outgoing Healing by 12%. It also records overhealing and turns it into a follow-up attack, making Natasha contribute a tiny bit of damage while doing her job. The catch? It’s gacha-only, so not everyone will have it. The four-star Post-Op Conversation is her signature cone and arguably the smartest investment. It gives Energy Regeneration Rate (8%) and an extra 12% Outgoing Healing on her Ultimate, letting her pop that party-wide heal more often. If you’re a battle pass enjoyer, Warmth Shortens Cold Nights is a solid contender thanks to its 16% max HP boost, even if the passive AoE heal on basic attacks is a drop in the bucket. Other budget-friendly picks include Shared Feeling (10% Outgoing Healing, plus ally energy recovery on skill use) and the three-star Cornucopia (12% extra healing on skill and ultimate). Three-star options won’t scale as well into late game, but for early Trailblaze levels they get the job done.
Understanding Natasha’s Traces is where the real micro-optimization lies. Her Skill, Love, Heal, and Choose, restores a chunk of HP to one ally and applies a heal-over-time effect for two turns. Her Ultimate, Gift of Rebirth, gives the entire party a fat heal. Both scale off max HP, which is why you always chase that stat. Her Talent, Innervation, cranks Outgoing Healing when the target is below 30% HP—this is the core of her “risk and reward” gameplay. Bonus Abilities are where she gets sneaky good: Soothe makes her skill cleanse one debuff, Healer gives a flat Outgoing Healing bump, and Recuperation extends the hot by one turn. When leveling Traces, prioritize her Skill and Ultimate first for raw healing numbers, then grab Soothe for debuff removal, followed by Innervation. The basic attack can wait—Natasha ain’t here to deal damage.

Now for some pro-tips that separate decent Natashas from the true MVPs. The biggest noob trap is mindlessly stacking max HP and Outgoing Healing way past soft caps. Once you hit a certain threshold (around 4,500 HP and 50% Outgoing Healing with set bonuses), you’ll see diminishing returns. At that point, Speed becomes the king. More actions per cycle mean more emergency heals and faster Ultimate uptime, which effectively gives you more total healing over a fight. Another slick move is to deliberately let an ally dip below 30% HP before using your Skill or Ultimate on them—thanks to Innervation, the heal becomes significantly larger. It’s a gutsy play, but in content where you’re not at risk of being one-shot, it pays off massively. Always, always hoard a Skill Point for Natasha. Nothing feels worse than watching a teammate drop because you got greedy with offensive skills. Save her Ultimate for moments when at least two allies are hurting; using it on a single target is usually a waste unless that unit is at death’s door.
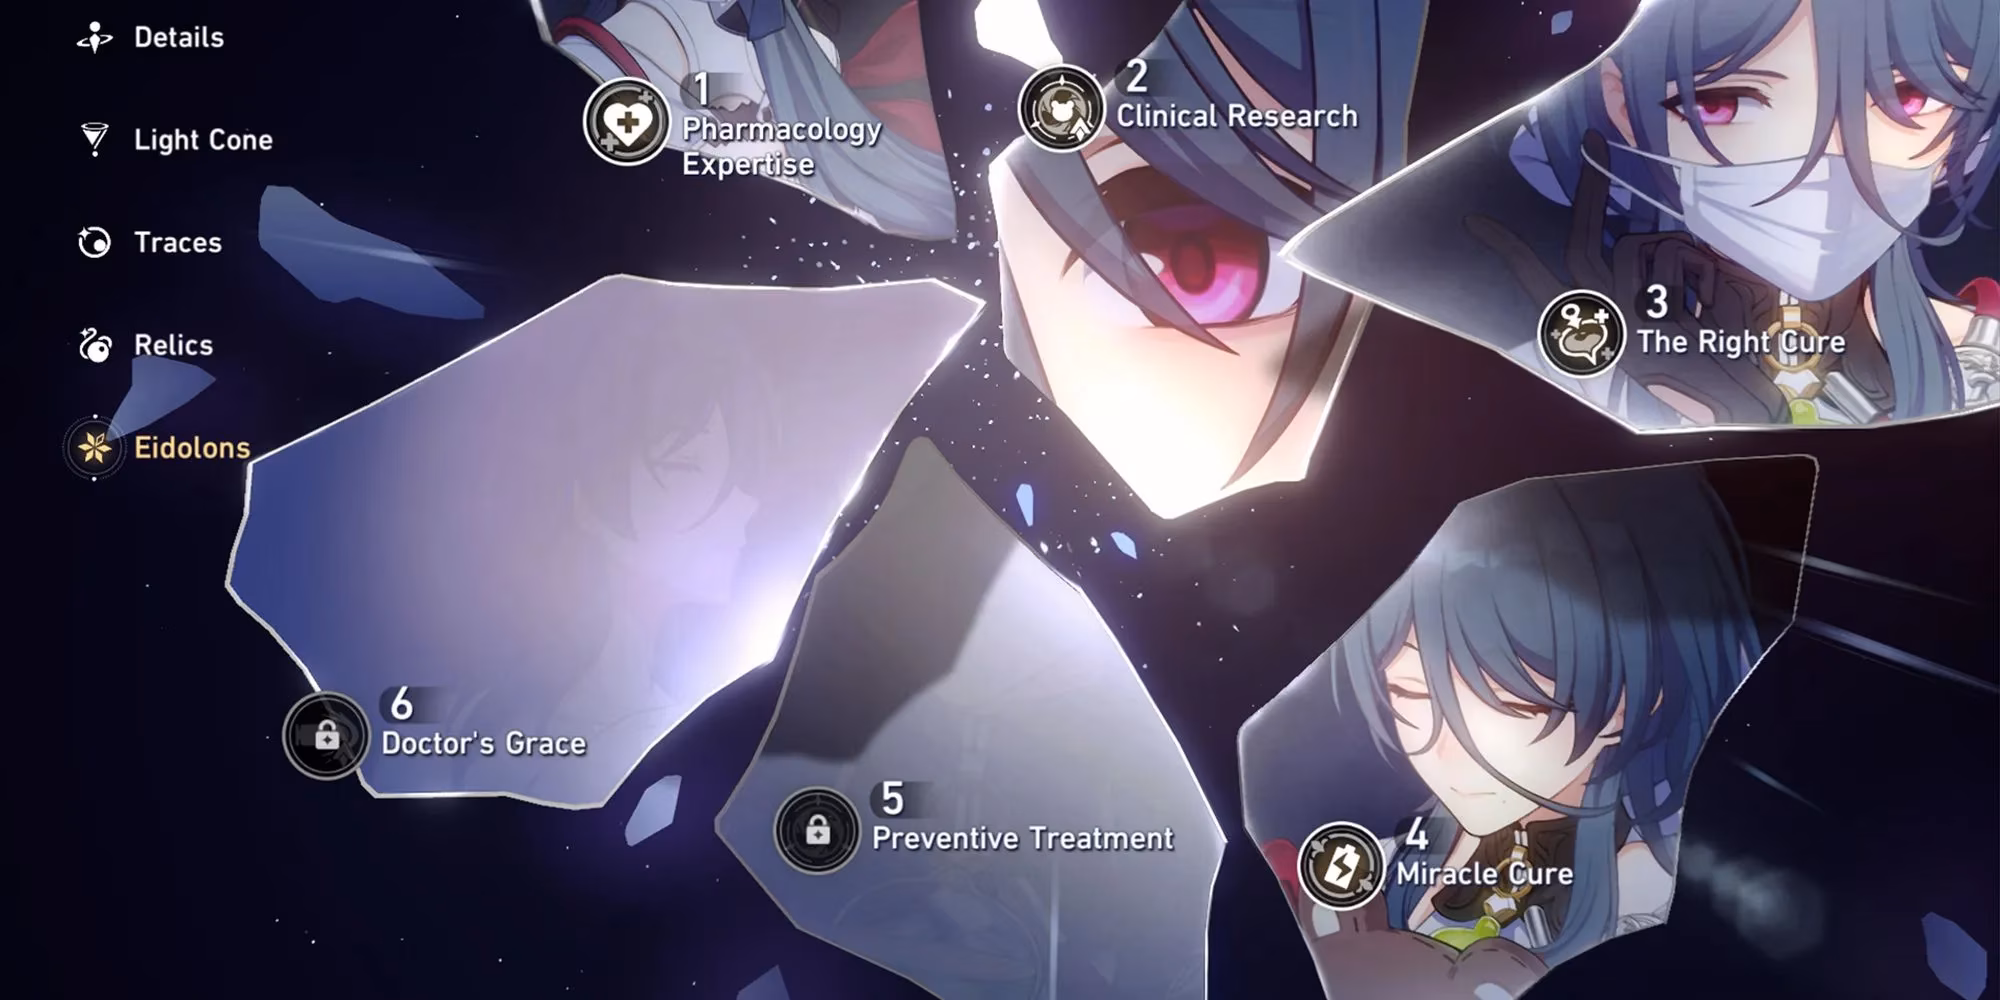
Let’s talk Eidolons. Natasha’s first few copies are nice quality-of-life buffs—E1 gives energy when healing allies below 30%, E2 adds a small heal over time to her Skill, and E4 extends the debuff cleanse. But here’s the tea: none of these fundamentally change how she plays. They make her sliiiightly better at what she already does, but they’re not worth chasing with Stellar Jades. Since she’s a four-star that you get for free and shows up in many warp pools, you’ll naturally accumulate some Eidolons over time. Treat them as happy little accidents rather than a build goal. The only exception is if you’re one copy away from E6, which gives her a resurrection mechanic—bringing an ally back to life with 1 HP once per battle. That can absolutely cheese a tough fight, but it’s still not mandatory. In 2026, with the flood of healers and shielders now in the game, Natasha holds her ground not because of Eidolons, but because she’s dead reliable and easy to build. Prioritize your limited resources on her gear and Traces, and let the duplicates come when they may.